

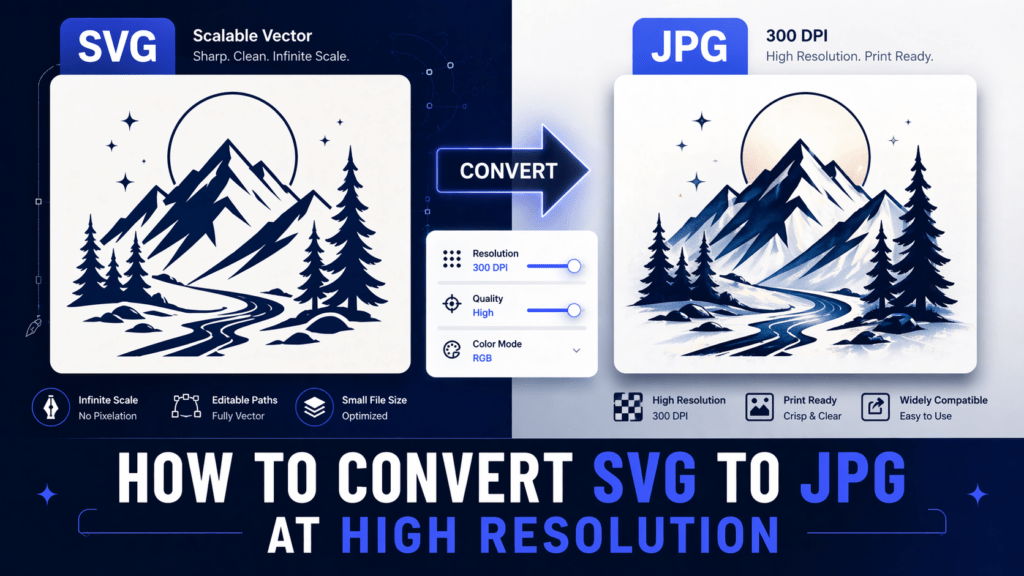
SVG files are great for the web. They scale to any size without losing quality, load fast, and stay sharp on every screen. But when you need to submit a design for print, post it on Instagram, or send it to a client who does not have a vector-compatible tool, you need a JPG. The problem is that converting SVG to JPG without losing quality is not as straightforward as it sounds.
Most quick online converters spit out a 72 DPI image that looks pixelated the moment you zoom in. Print requires at least 300 DPI. Social media performs best at specific pixel dimensions. This guide covers how to convert SVG to JPG at high resolution correctly, whether you are preparing files for print, social media, or client delivery.
Why SVG to JPG Conversion Goes Wrong
The source of most bad conversions is a misunderstanding of how SVGs work. An SVG does not have a native pixel resolution. It is a mathematical description of shapes. When you convert it to JPG, a renderer has to decide how many pixels to use when drawing those shapes.
Most basic converters default to a small canvas size, often matching the width and height attributes in the SVG source, which might be set to just 100px or 200px. The result is a tiny, low-resolution JPG that looks nothing like what you intended.
The fix requires telling the converter to rasterize the SVG at a much larger pixel dimension before exporting.
Understanding Resolution Requirements Before You Convert
Getting the resolution right starts before you even open a converter. You need to know what output size you actually need.
For print: Print resolution is measured in DPI (dots per inch). Standard print quality requires 300 DPI. If you want to print a design at 5 inches by 5 inches, you need a JPG that is at least 1500 x 1500 pixels (5 inches multiplied by 300 DPI). For large format printing like banners or posters, you may only need 150 DPI, but the pixel dimensions will still be large because the physical size is large.
For social media: Each platform has its own recommended dimensions. As of 2026, the most commonly used sizes are:
- Instagram square post: 1080 x 1080px
- Instagram story: 1080 x 1920px
- Facebook cover: 820 x 312px
- Twitter/X post: 1200 x 675px
- LinkedIn post: 1200 x 627px
- YouTube thumbnail: 1280 x 720px
For most social media use, a 1x pixel density export at the recommended dimensions is fine. If you want your images to look crisp on retina screens, double the dimensions.
Method 1: Using SVGMaker’s Built-In SVG to JPG Converter
The simplest way to get a high-resolution JPG from an SVG is to use a tool designed specifically for this workflow. SVGMaker’s converter lets you control the output dimensions before exporting, which means you get the pixel count you actually need rather than whatever default the tool assumes.
The process is straightforward. Upload your SVG file, set the output width and height in pixels, and download the JPG. The rendering happens at the full resolution you specify, so a 3000px wide export will be genuinely sharp at 3000px, not a 500px image stretched to fill the frame.
For print work, calculate your target pixel dimensions first (physical size multiplied by 300), then set those dimensions in the converter. For social media, use the platform-specific dimensions listed above.
One practical tip: SVGMaker preserves the aspect ratio automatically when you set just one dimension. So for a square design you can set 2000px for both, and for a landscape design you can set the width and let the height calculate.
Method 2: Using Inkscape for Precise DPI Control
Inkscape is a free, open-source vector editor that gives you precise control over export resolution. If you need 300 DPI for professional print work and want to verify the settings explicitly, this method works well.
Here is the process:
- Open your SVG file in Inkscape.
- Go to File and select Export PNG Image (Inkscape exports to PNG first, which you then convert to JPG for compatibility reasons).
- In the Export dialog, set your DPI. For print, set it to 300. For large format, use 150.
- Check the pixel dimensions shown in the dialog. They will update automatically based on your DPI setting and the SVG canvas size.
- Click Export.
- Once you have the PNG, open it in any image editor or converter and save as JPG.
The reason to go through PNG first is that PNG is lossless. Converting SVG to PNG at high resolution and then PNG to JPG gives you more control over quality than going SVG directly to JPG through most tools.
Method 3: Using a Browser and Screenshot/Render Method
This method works when you need a quick export and do not have access to a dedicated tool.
Open the SVG file directly in Chrome or Firefox. In the address bar, type the file path or drag the SVG file into the browser. The browser renders the SVG at whatever size the viewBox and width/height attributes define.
To get a larger render, open the browser’s developer tools, find the SVG element, and temporarily change the width and height attributes to much larger values (like 3000 x 3000). The browser will re-render it at that size. Then take a full-resolution screenshot of just the SVG element.
This method is not as precise as dedicated tools, but it works in a pinch and costs nothing.
Method 4: Using ImageMagick via Command Line
For developers or anyone comfortable with the command line, ImageMagick handles SVG to JPG conversion with full control over output size and quality.
The basic command looks like this:
convert -density 300 input.svg -quality 92 output.jpg
The -density flag sets the DPI, which controls how many pixels per inch the SVG is rasterized at. The -quality flag controls JPG compression. A value of 92 gives very good quality with reasonable file size. Values below 85 start to introduce visible compression artifacts.
To set a specific pixel width instead of DPI:
convert input.svg -resize 2000x output.jpg
This resizes the output to 2000 pixels wide while maintaining the aspect ratio.
JPG Quality Settings: What You Need to Know
JPG is a lossy format. Every time you save a file as JPG, some image data is discarded. The quality setting controls how much is kept.
For most purposes:
- Quality 95 and above: Maximum quality, large file size. Use for archiving or when the file will be edited further.
- Quality 85 to 94: Very good quality, moderate file size. Ideal for print-ready files and high-quality social media posts.
- Quality 70 to 84: Good quality, smaller file size. Acceptable for web use and social media where file size matters.
- Below 70: Visible compression artifacts. Only use if file size is a critical constraint.
One important thing to remember: once you save as JPG and close the file, the quality loss is permanent. Always keep the original SVG source file so you can re-export at a different quality or size later.
Common Mistakes to Avoid
Not setting output dimensions before converting. The most common mistake. Always define your target pixel dimensions before exporting, not after.
Converting a small SVG and then scaling up the JPG. A JPG scaled up after export will look blurry. Set the large pixel dimensions at the time of export so the SVG renderer creates the full resolution image from the original vector data.
Using the wrong background color. SVGs can have transparent backgrounds. JPG does not support transparency. When you convert, transparent areas are typically filled with white. If you want a specific background color, set it before converting rather than trying to fill it in afterward.
Saving as JPG multiple times. Each save as JPG re-compresses the file and degrades quality. Do your editing in the original format and save as JPG only once, at the end.
Which Method Is Right for You?
If you want the easiest and most accessible option, use SVGMaker to handle the conversion directly. You get precise dimension control, a clean output, and no software to install.
If you are doing professional print work and need verified DPI settings with full control, Inkscape is the right tool.
If you are a developer working in bulk, ImageMagick gives you scriptable, repeatable conversions.
The method does not matter as much as understanding why resolution control matters and applying it consistently. Start with the right pixel dimensions for your use case, and the quality will follow.
